Company-wide Groups can be created to manage access across multiple projects. After a group is created, Project Administrators will be able to add that group to their project and assign roles to it. Users in this group will automatically be granted access to the project and be assigned the roles linked to that group.
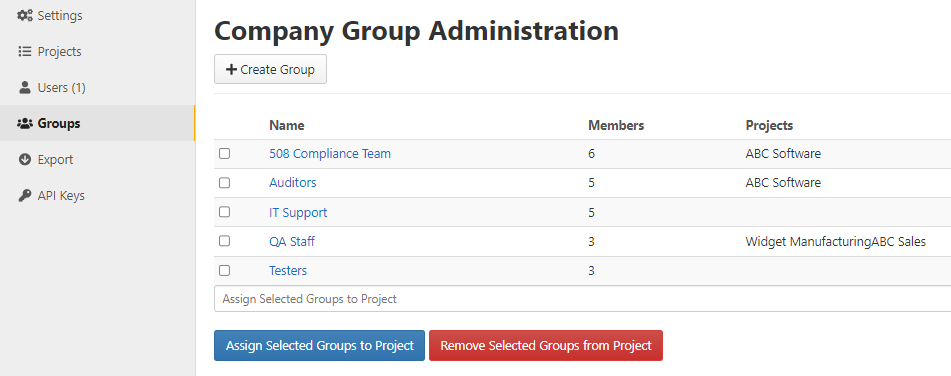
The Company Group Administration page includes a list of existing groups, the number of members in each group, and a list of projects which have added each group.
 Members of a Company-wide Group are managed solely by the Company Administrators. If any group members are added or removed, then access will automatically be granted or removed for that user in projects to which the Company-wide Group has been added.
Similar to project-specific groups, Company-wide Groups can also be assigned issues or notified from within an issue.
Creating groups
- From the Company > Admin > Groups page, click on Create Group.
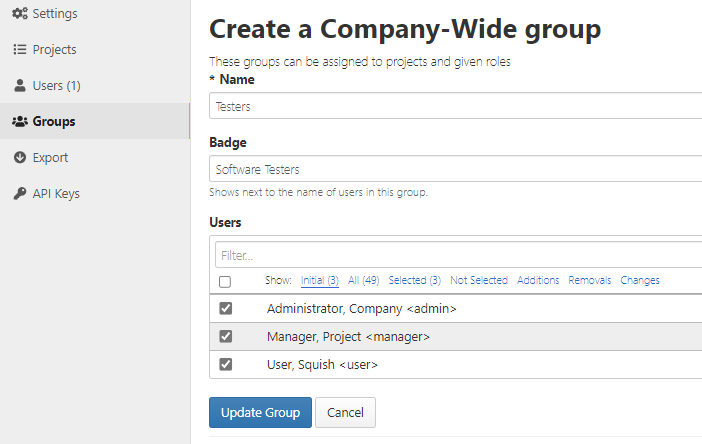
- Enter a name for the group.
- Select the members you would like to include in the group from the dropdown list. A keyword filter is available to narrow the number of members displayed. The list of members may be filtered to show users fitting each of the following criteria:
- Initial – users included in this group before the edit page was opened.
- All – all users.
- Selected – all users who will be included in this group after the Save Changes button is selected.
- Not Selected – all users who will not be included in this group after the Save Changes button is selected.
- Additions – all new users who be included in this group after the Save Changes button is selected.
- Removals – all users who will not be included in this group anymore after the Save Changes button is selected.
- Changes – all changes made to users in this group since the last save.
- Click Create Group.
Editing groups
You can view the users in a group and edit the group by clicking the group name on the Company-wide Groups page. Make changes to the name by typing in the Name field. Check the box next to a user’s name in the Users field to add them to the group or uncheck the box to remove them from the group. Click Update Group to save the changes.
Assigning groups to Projects
On the Company Group Administration page, administrators can assign a Company-wide group to one or more project. This will immediately grant all users in that group access to the project. To assign a group, check the box(es) next to the group(s) you want to assign. In the Assign Selected Groups to Project field, choose one or more projects. Select the Assign Selected Groups to Project button. To remove a group from one or more projects, follow the same steps and select the Remove Selected Groups from Project button instead.